Kids OK with adultESP32-S3Level 3/3
MuBot AI Desk Robot
A desk robot with round screen eyes, four servo legs and a voice: it walks, reacts to touch and tilt, and chats with AI.
Sign in to save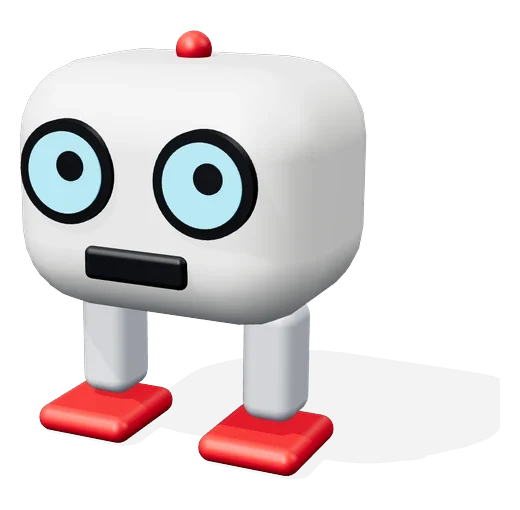
Kids OK, with an adult
DIY project. Children must build this only with an adult (16+ years) beside them at all times. Not suitable for children under 8 years.
Avoid GPIO 35–37 (used by the PSRAM), 0, 45, 46 (boot pins) and 19/20 (USB). An adult must handle and charge the 18650 cell.
Strictly follow the description given with this video.
Video
The video link will be added here soon.
How it works
- Two round displays show 10 expressions: happy, love, scared, dizzy, sleepy, angry and more.
- Four servos (two hips, two feet) make it walk and step back.
- Touch, distance, tilt and the microphone trigger reactions with sound effects.
- Voice chat runs through Wi-Fi to an AI server using open-source ESP32 voice firmware.
Parts you need
- ESP32-S3 board (16 MB flash, 8 MB PSRAM)₹1,035× 1Buy
- I2S microphone× 1Buy
- I2S amplifier + 3W speaker× 1Buy
 4× micro servos (hips, feet)₹126× 4Buy
- Touch sensor (under the head top)₹29× 1Buy
 HC-SR04 ultrasonic sensor (mouth)₹80× 1Buy
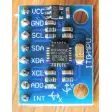 MPU6050 motion sensor₹172× 1Buy
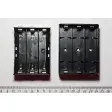 18650 cell + charge/boost board (5V)× 1Buy
Kit for this projectPrice on request
Get the kitWiring
PowerGroundSignal
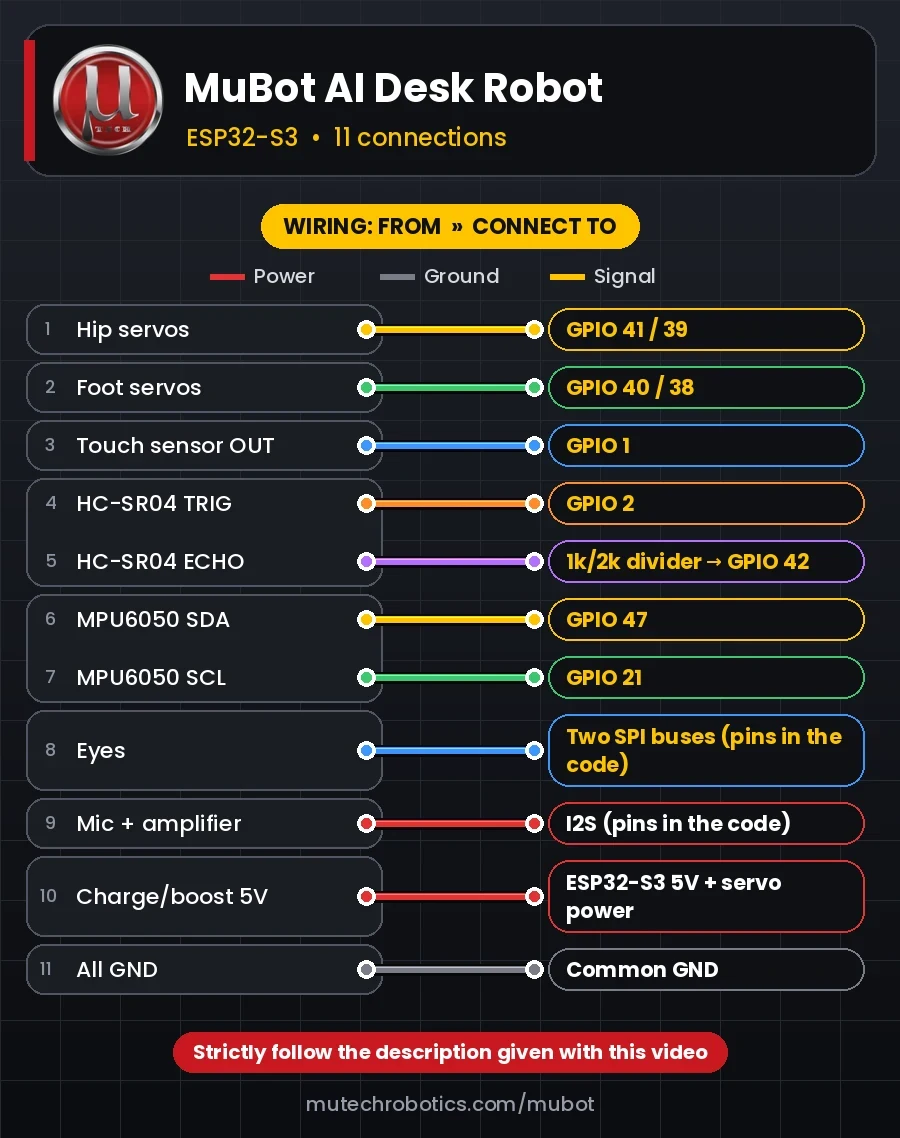
| # | From | Connect to |
|---|---|---|
| 1 Signal | Hip servos | GPIO 41 / 39 |
| 2 Signal | Foot servos | GPIO 40 / 38 |
| 3 Signal | Touch sensor OUT | GPIO 1 |
| 4 Signal | HC-SR04 TRIG | GPIO 2 |
| 5 Signal | HC-SR04 ECHO | 1k/2k divider → GPIO 42 |
| 6 Signal | MPU6050 SDA | GPIO 47 |
| 7 Signal | MPU6050 SCL | GPIO 21 |
| 8 Signal | Eyes | Two SPI buses (pins in the code) |
| 9 Power | Mic + amplifier | I2S (pins in the code) |
| 10 Power | Charge/boost 5V | ESP32-S3 5V + servo power |
| 11 Ground | All GND | Common GND |